Forcing a keyed component in the wrong direction
The setup controls the result. Take another minute to make the workspace stable and predictable.
Preparing the next step…
technical guide · 7 steps
Choose the correct slots, seat memory modules, and confirm the full capacity.
The outcome
This guide is designed to be used while you work. Each photograph shows a distinct stage, safety notes appear before the risk, and your progress is saved on this device.
At every stage, compare alignment and position—not just the finished appearance.
Before you begin
Interactive component map
Select a marker to identify the major motherboard regions.
The walkthrough
Open any image for detailed zoom. Mark steps complete as you go.
Check the motherboard manual for memory generation, maximum capacity, speed support, and preferred slot pairing—usually A2 and B2 for two modules.
DDR4 and DDR5 are keyed differently and cannot be interchanged.
Power off, unplug the supply, switch it off at the rear, then hold the case power button for ten seconds to discharge stored energy.
Work on a hard surface and ground yourself before touching internal parts.
Remove the side panel that exposes the motherboard. Lay the system on its side if that gives you better, controlled pressure over the memory slots.
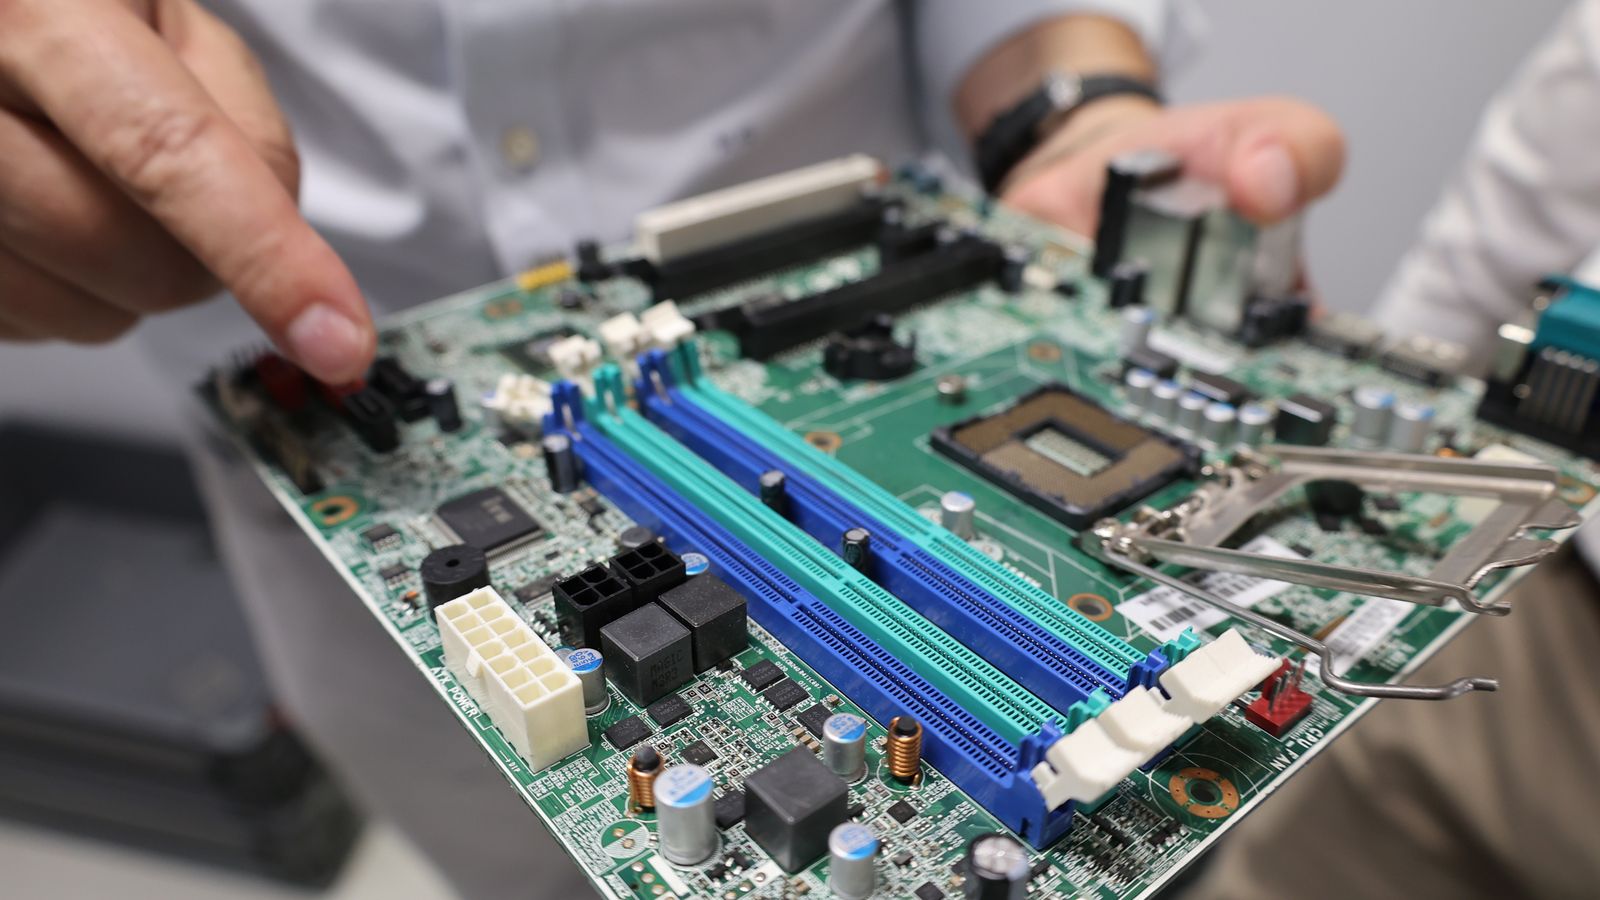
Find the long DIMM slots beside the CPU socket. Follow the printed A1/A2/B1/B2 labels and open the retaining clips on your selected slots.
Use the hotspots on the image below to distinguish memory, CPU, and graphics slots.
Hold the RAM by its edges. Match the offset notch in its contacts to the ridge inside the slot—the module fits in only one direction.
Apply even pressure with both thumbs on the top corners. The module must sit level and both retaining clips should lock into its side notches.
If it needs extreme force, stop and recheck the notch alignment and slot clips.
Close the case, reconnect power, and enter the BIOS or operating system memory panel. Confirm total capacity and enable the rated XMP/EXPO profile if supported.
A first boot after a memory change can take longer while the motherboard trains the modules.
Avoid the re-do
The setup controls the result. Take another minute to make the workspace stable and predictable.
More force or more material rarely solves poor alignment. Reset and use a controlled technique.
A deliberate final check catches small problems while they are still easy to correct.
Tutorial complete
Complete 7 more steps to finish this guide.
Before you go
Yes. This guide is paced for a beginner, but stop whenever a step differs from the photographs or your manufacturer’s instructions.
Use the final verification step and never ignore movement, leaks, excessive heat, unusual noise, or a fastener that will not seat normally.
Pause and find the exact manual or specification. The sequence can still help, but model-specific safety information always takes priority.
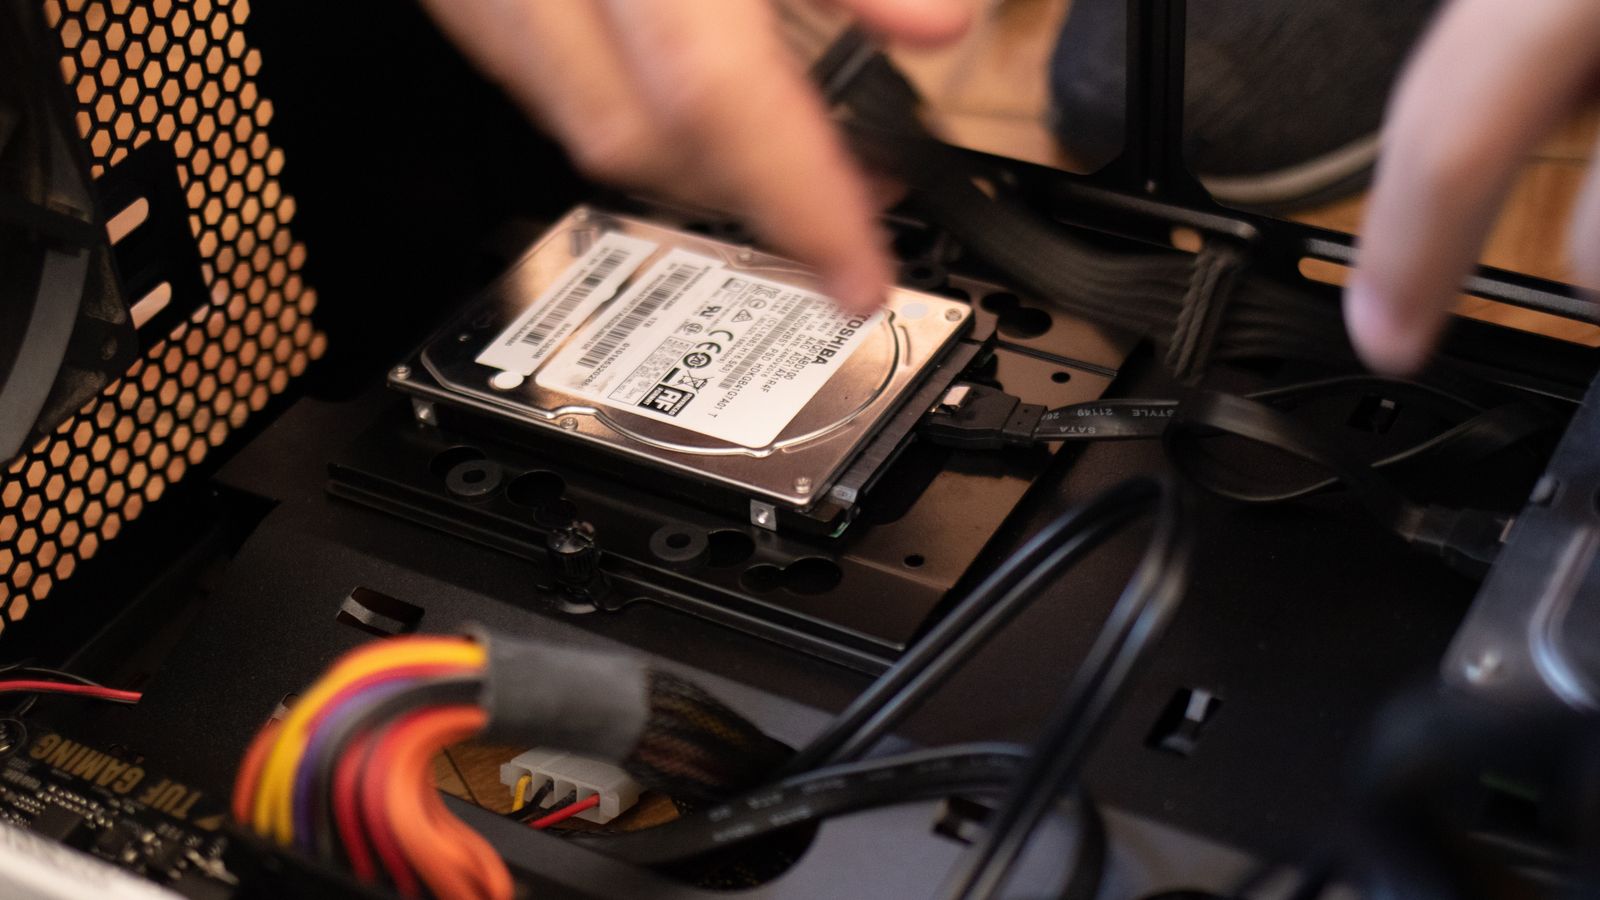
Mount, connect, initialize, and migrate to faster solid-state storage.
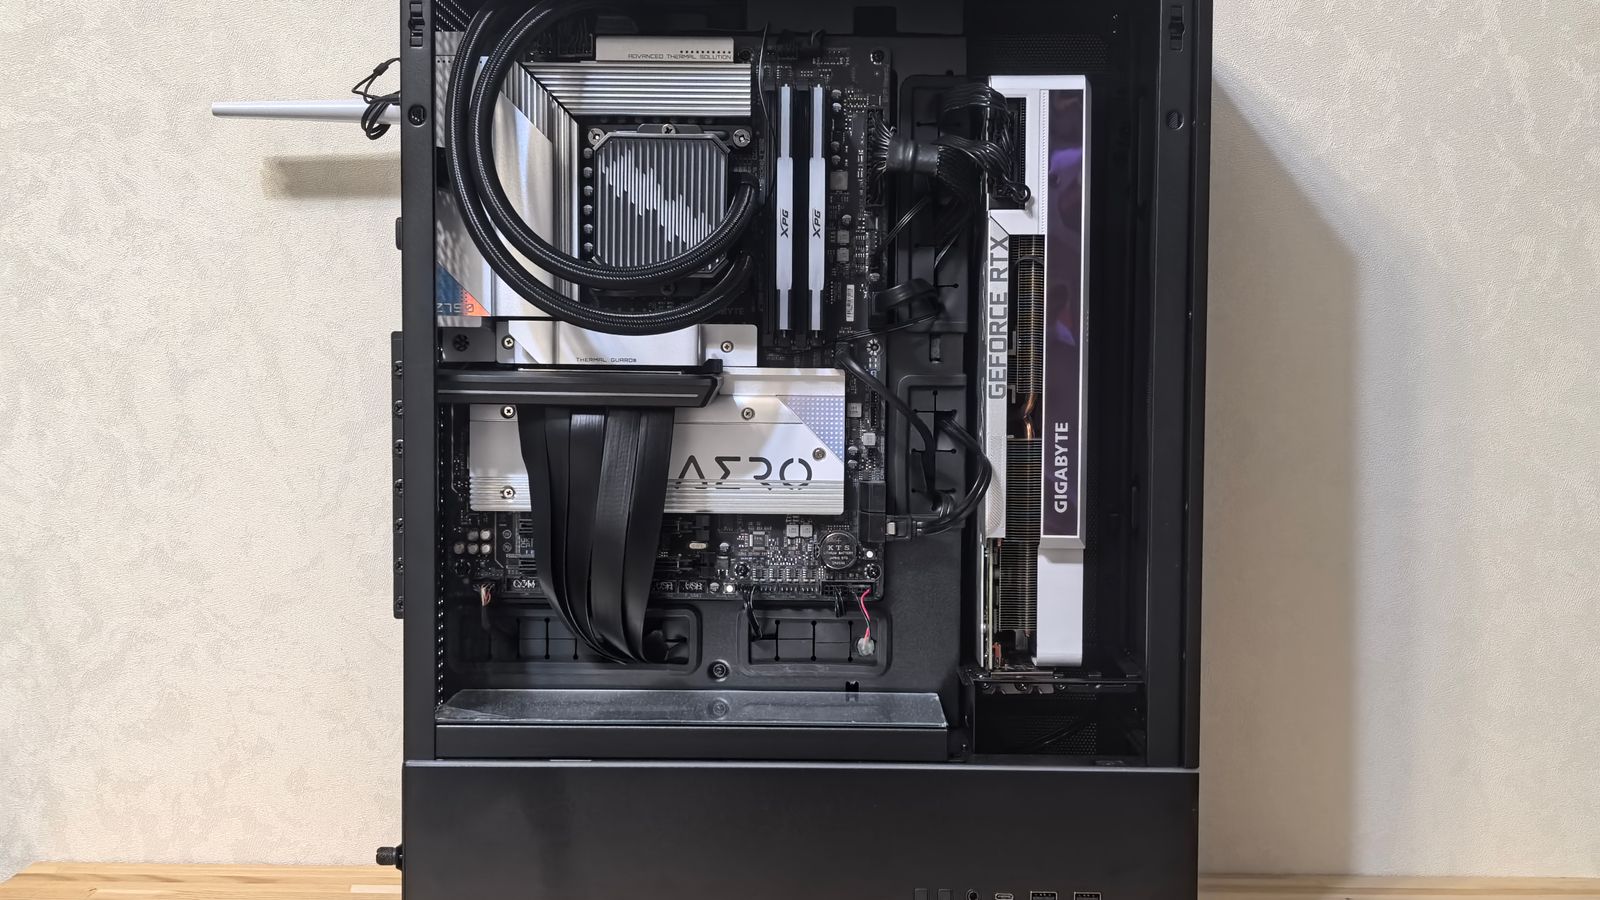
A complete component-by-component build with cable routing and first boot checks.
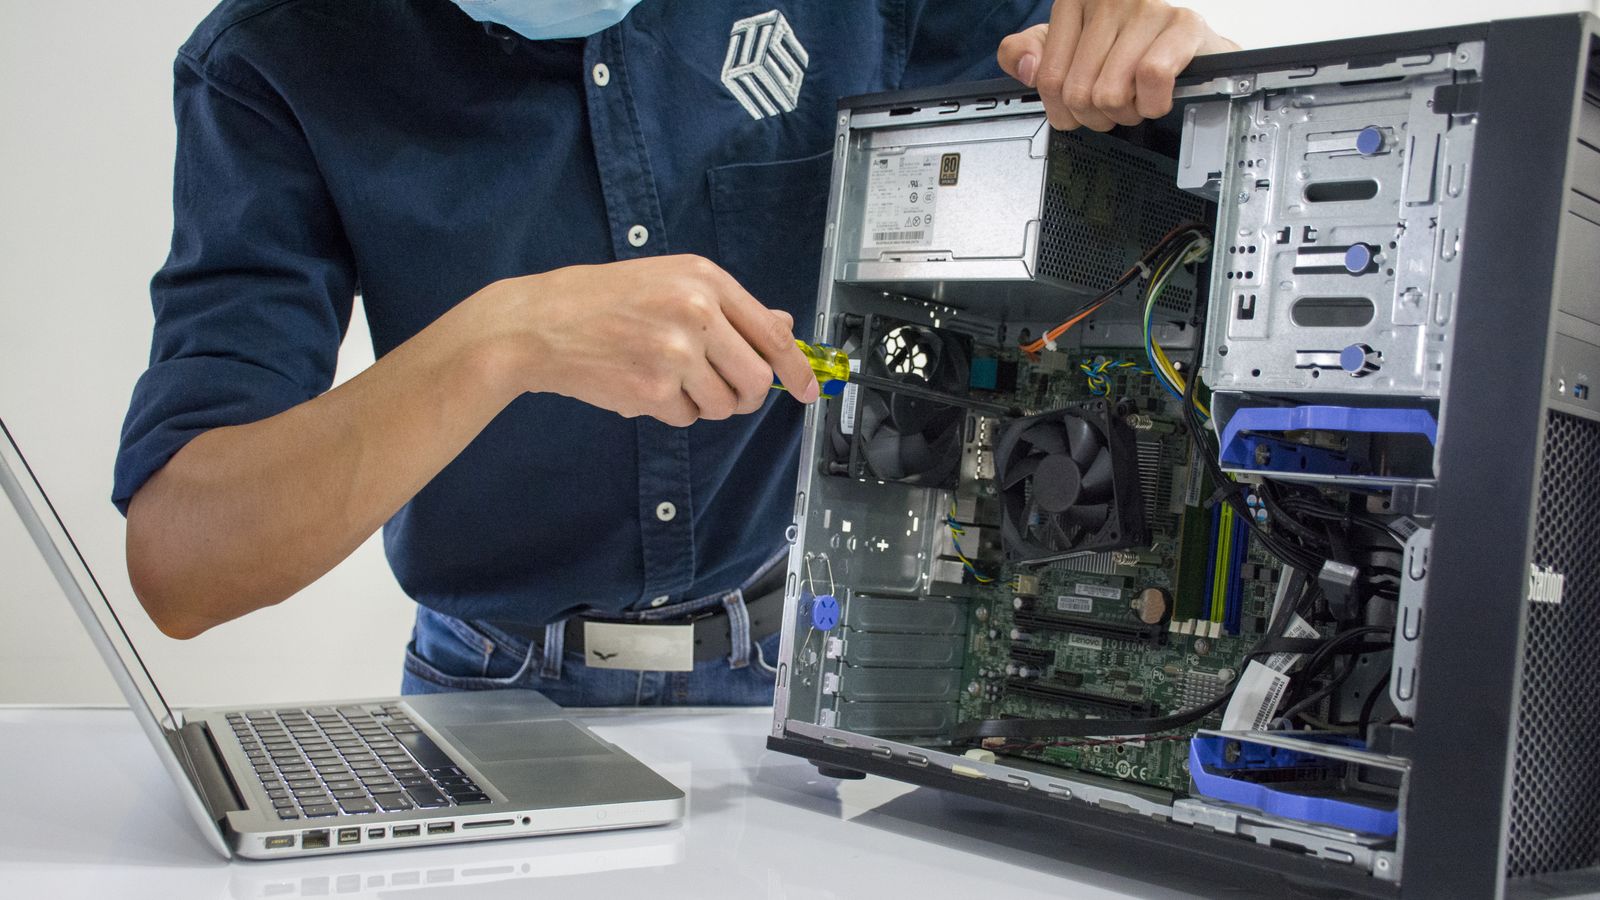
Test, isolate, reposition, and reconfigure before buying a new router.