Starting before all materials are ready
The setup controls the result. Take another minute to make the workspace stable and predictable.
Preparing the next step…
beginner guide · 8 steps
Cut a clean patch, support it, feather compound, sand, and disappear the repair.
The outcome
This guide is designed to be used while you work. Each photograph shows a distinct stage, safety notes appear before the risk, and your progress is saved on this device.
At every stage, compare alignment and position—not just the finished appearance.
Before you begin
The walkthrough
Open any image for detailed zoom. Mark steps complete as you go.
Check for wires and pipes, then cut a neat rectangle around the broken area. A clean opening makes the replacement piece far easier to fit.
Slip two plywood strips behind the opening and screw through the existing wall to hold them. Keep screw heads just below the paper surface.
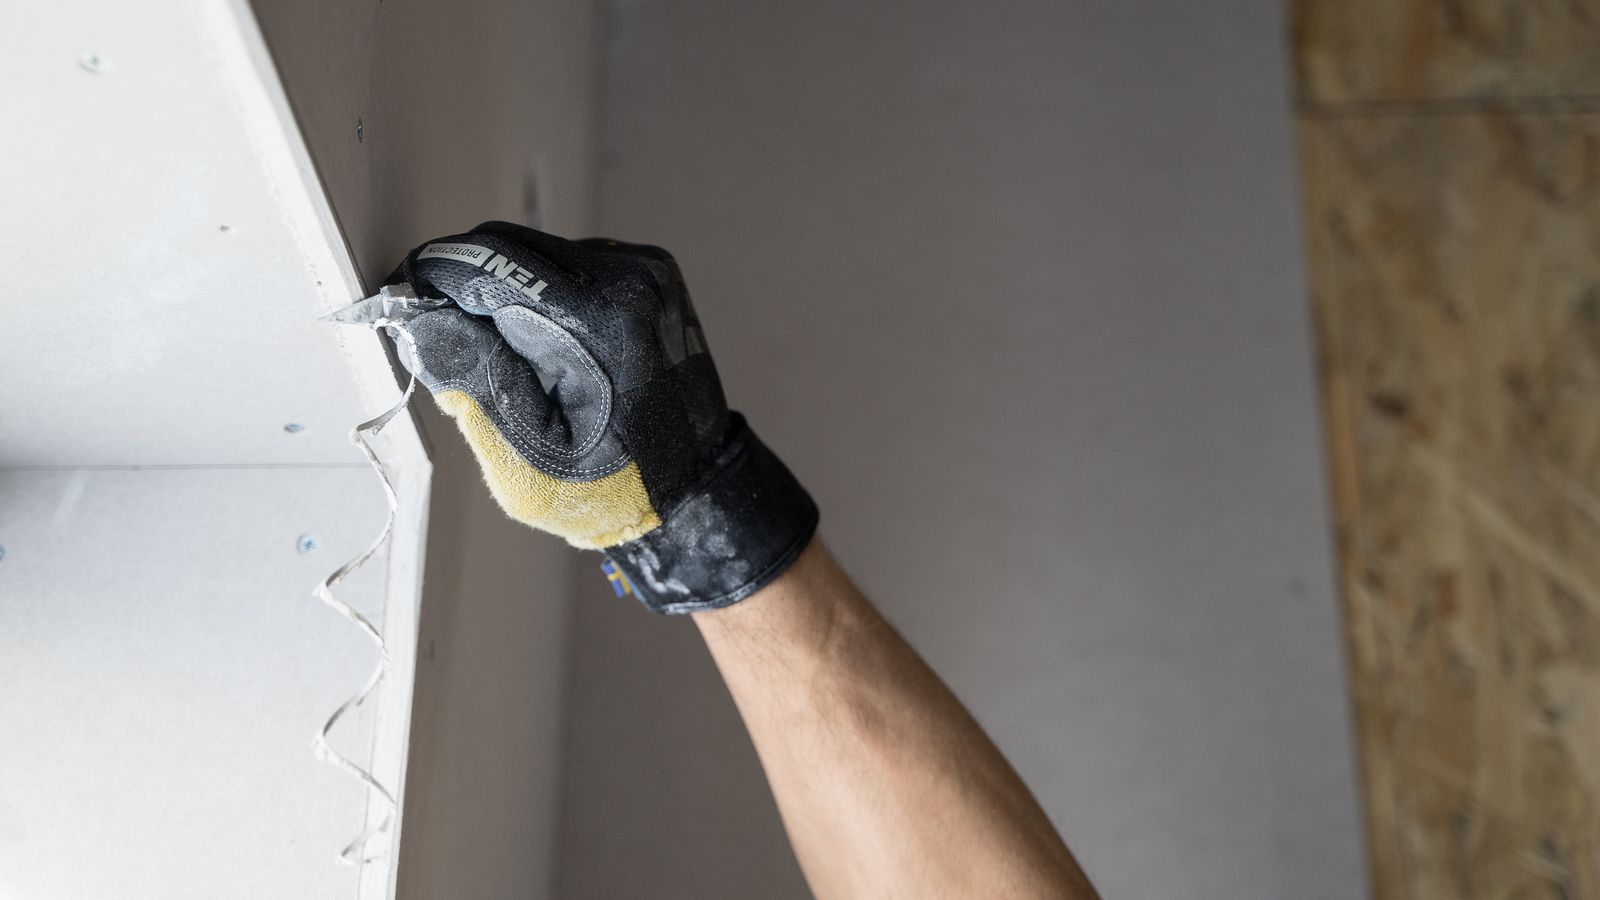
Cut drywall about 3 mm smaller than the opening, place it against the backing, and fasten without tearing the face paper.
Apply a thin bed of joint compound, center paper tape over each seam, and wipe flat. Cover fasteners at the same time.
Thin coats dry faster and leave less sanding than one heavy coat.
After drying, add two increasingly wide coats with an 8–12 inch knife. Keep the outside edge nearly transparent.
Use 150-grit paper and a work light aimed across the wall. Stop as soon as the transition feels invisible to a flat palm.
Wear a respirator and contain fine drywall dust before sanding.
Remove dust and apply drywall primer across the full repaired area. Primer equalizes porosity so the patch will not flash through paint.
Match the existing roller texture and blend color outward. For difficult matches, repaint the entire wall from corner to corner.
Result check
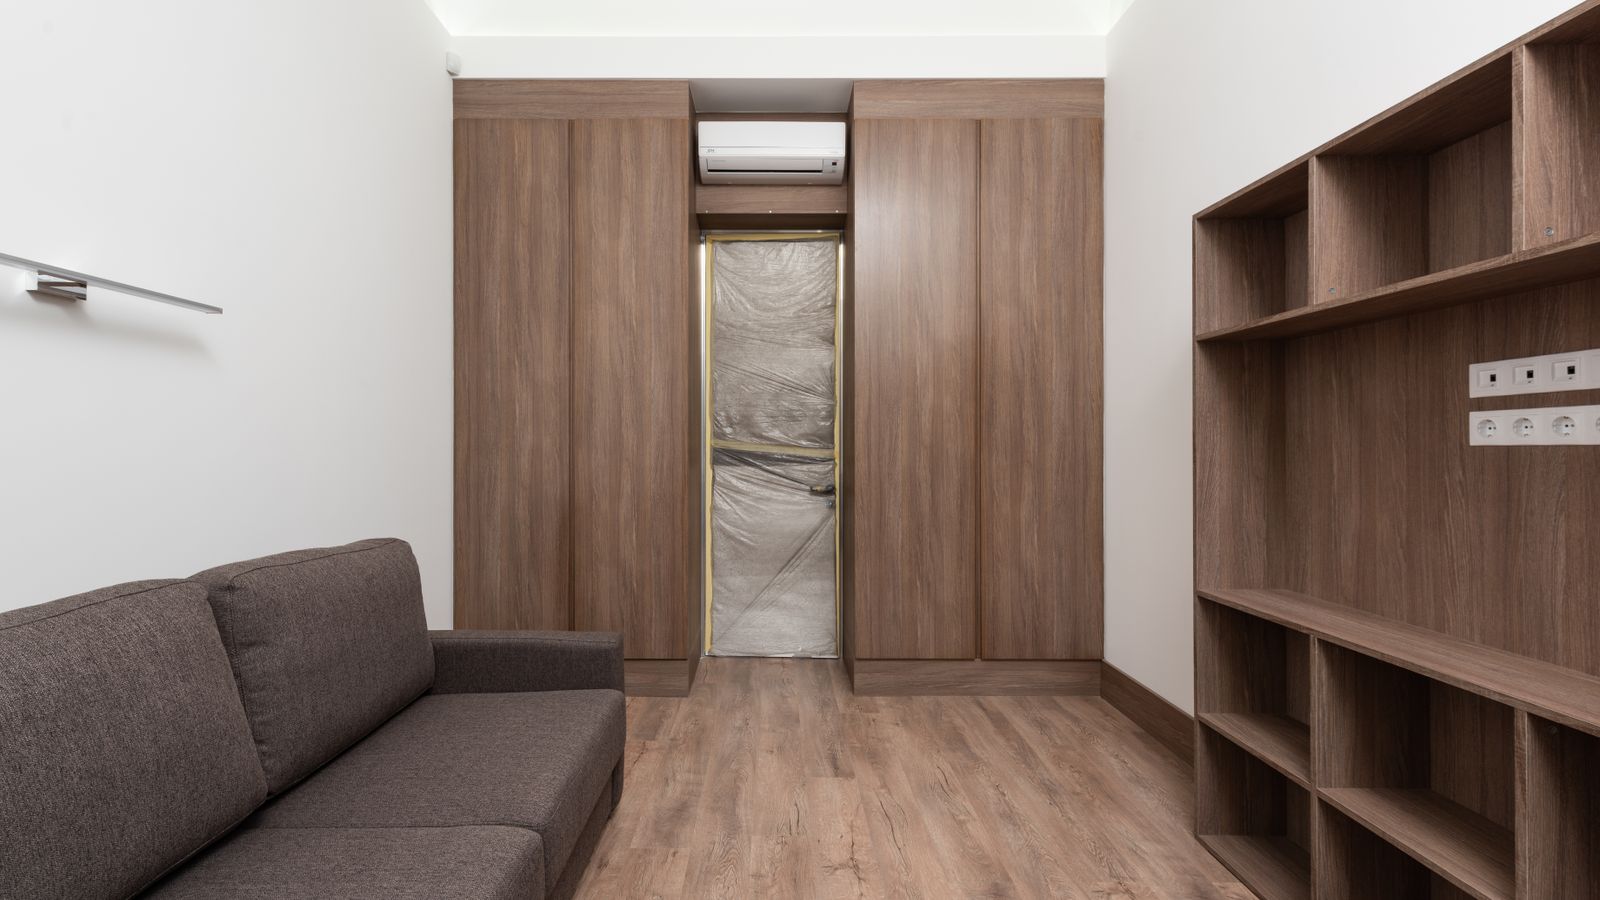
Drag the handle to compare the compound stage with the primed, finished surface.
Avoid the re-do
The setup controls the result. Take another minute to make the workspace stable and predictable.
More force or more material rarely solves poor alignment. Reset and use a controlled technique.
A deliberate final check catches small problems while they are still easy to correct.
Tutorial complete
Complete 8 more steps to finish this guide.
Before you go
Yes. This guide is paced for a beginner, but stop whenever a step differs from the photographs or your manufacturer’s instructions.
Use the final verification step and never ignore movement, leaks, excessive heat, unusual noise, or a fastener that will not seat normally.
Pause and find the exact manual or specification. The sequence can still help, but model-specific safety information always takes priority.
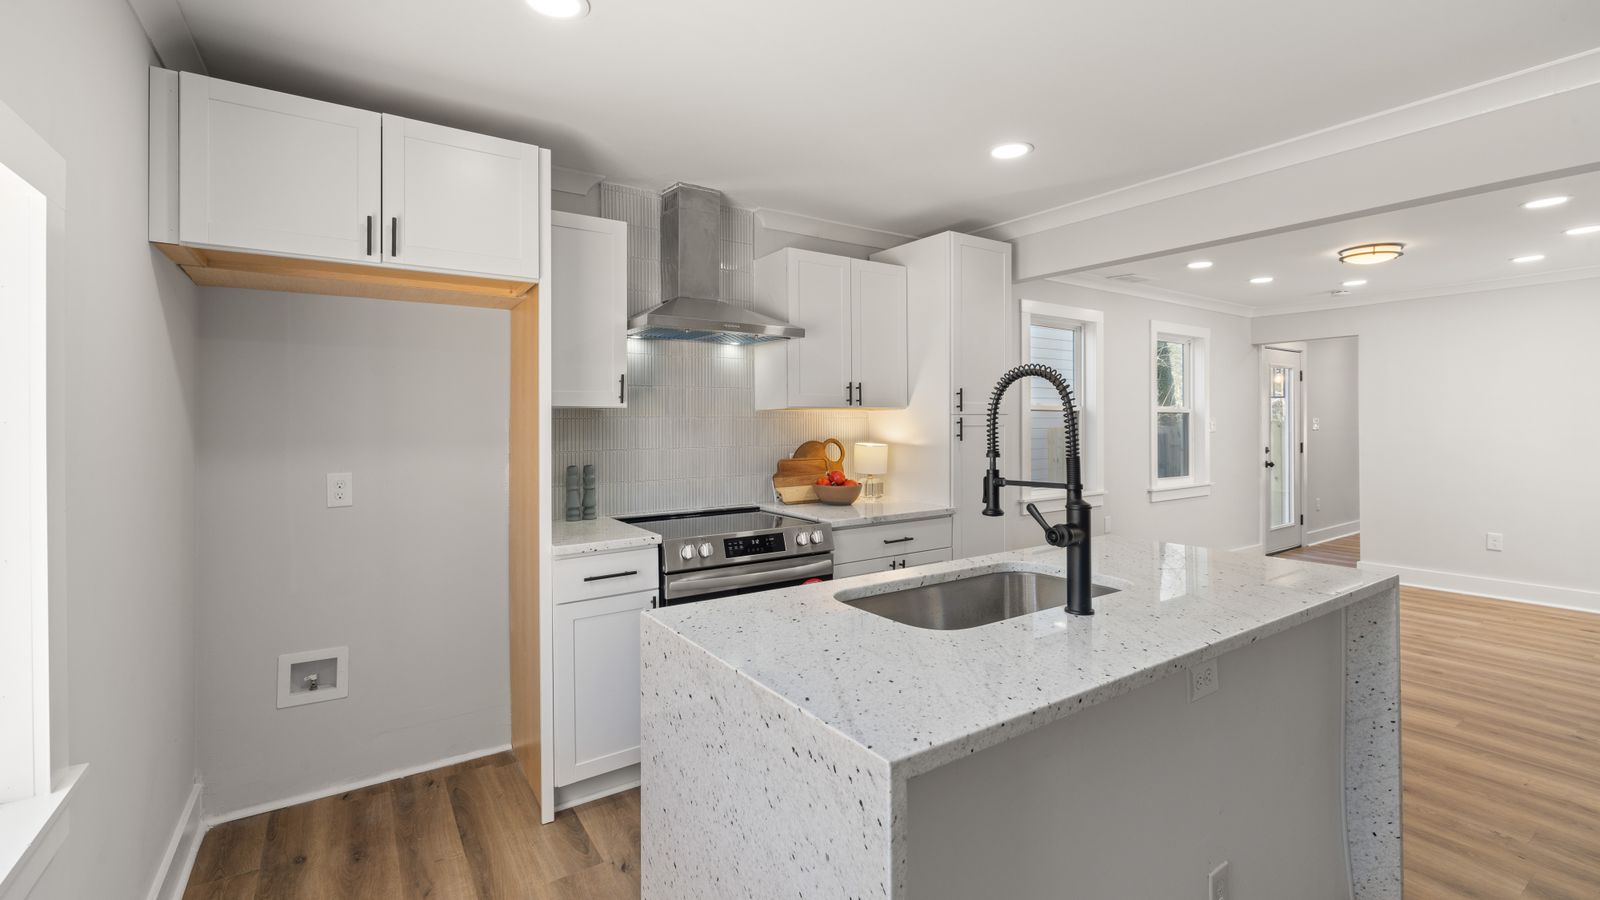
Turn off water, disconnect the old fixture, seal, install, and leak-test.
Find studs, set viewing height, level the bracket, and hang it securely.
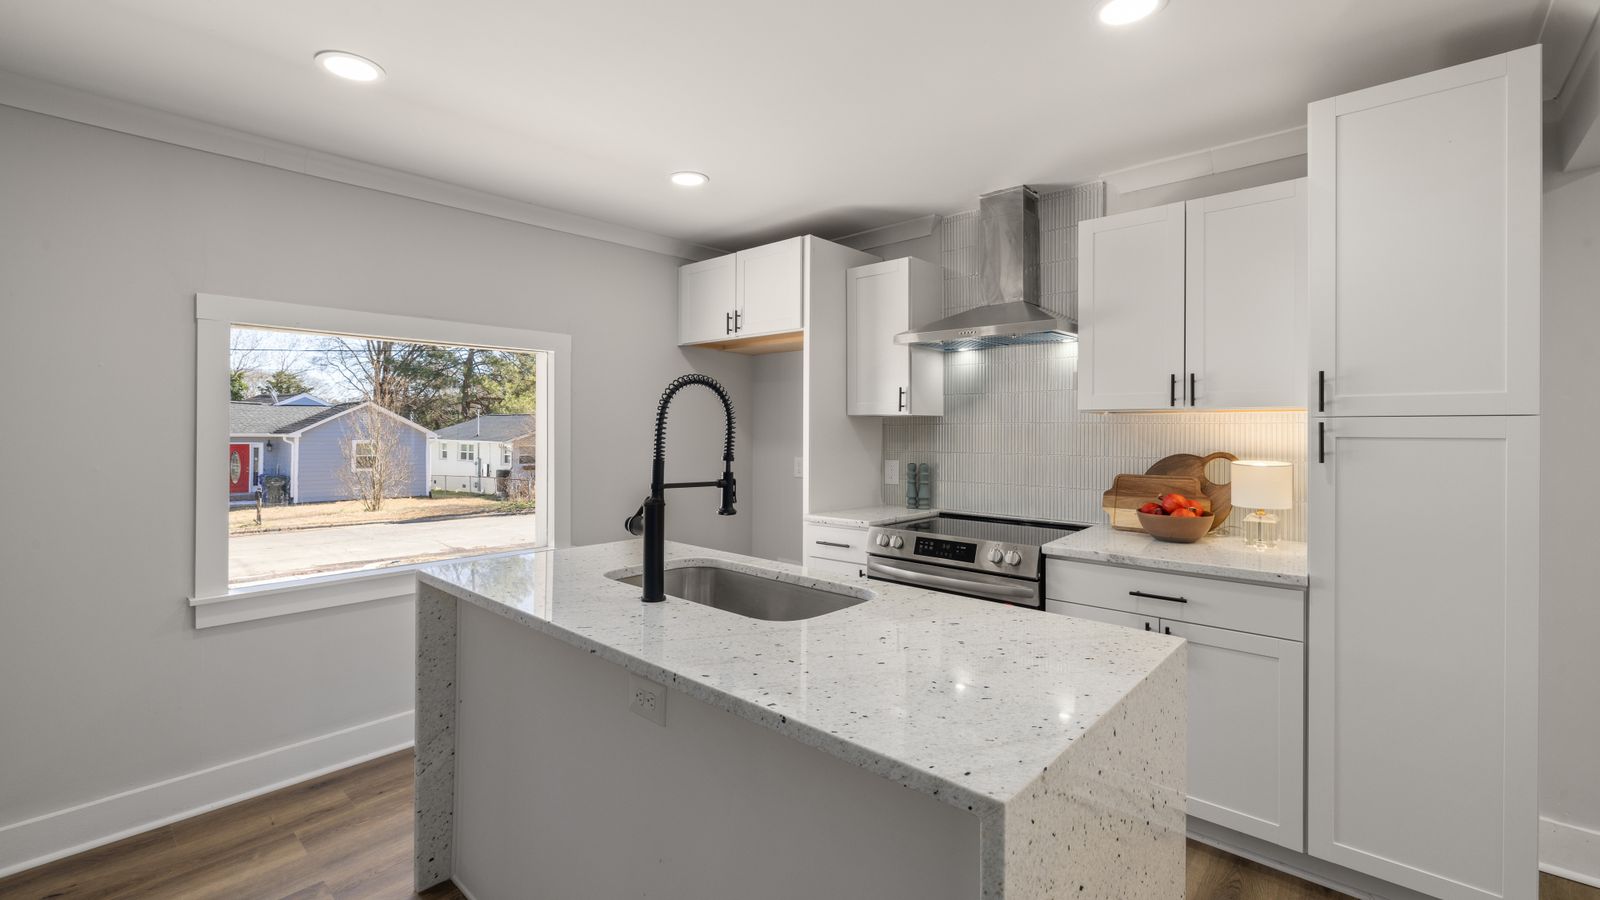
Plan rows, stagger joints, work around doors, and finish cleanly.