Cooking a wet surface instead of searing it
The setup controls the result. Take another minute to make the workspace stable and predictable.
Preparing the next step…
recipe guide · 7 steps
Control surface moisture, pan heat, basting, doneness, and resting.
The outcome
This guide is designed to be used while you work. Each photograph shows a distinct stage, safety notes appear before the risk, and your progress is saved on this device.
At every stage, compare alignment and position—not just the finished appearance.
Before you begin
Optional kitchen timer
Timer stays in this tab. No sound will play.
The walkthrough
Open any image for detailed zoom. Mark steps complete as you go.
Season generously 40 minutes before cooking—or immediately before. Blot every surface dry so heat creates a crust instead of steam.
Avoid the 5–30 minute window, when salt draws moisture out but has not yet reabsorbed.
Heat cast iron over medium-high until a drop of oil shimmers instantly. Open ventilation before the steak goes in.
Lay the steak away from you. Press gently for full pan contact, then leave it undisturbed for two minutes to develop an even mahogany crust.
Hot oil can spit. Use long tongs and keep the handle turned inward.
Flip once. Add butter, crushed garlic, and thyme; tilt the pan and spoon foaming butter across the steak until it reaches your pull temperature.
Pull at 125°F / 52°C for medium-rare; carryover heat usually adds 5–10°F.
Hold the fat cap against the pan for 30–45 seconds, then briefly color any pale edges without overcooking the center.
Transfer to a warm rack or plate for 5–8 minutes. A loose foil tent is fine; tight foil softens the crust.
Find the direction of the muscle fibers and cut perpendicular to them. Finish with flaky salt and the resting juices.
Across-the-grain slices shorten the fibers and feel markedly more tender.
Avoid the re-do
The setup controls the result. Take another minute to make the workspace stable and predictable.
More force or more material rarely solves poor alignment. Reset and use a controlled technique.
A deliberate final check catches small problems while they are still easy to correct.
Tutorial complete
Complete 7 more steps to finish this guide.
Before you go
Yes. This guide is paced for a beginner, but stop whenever a step differs from the photographs or your manufacturer’s instructions.
Use the final verification step and never ignore movement, leaks, excessive heat, unusual noise, or a fastener that will not seat normally.
Pause and find the exact manual or specification. The sequence can still help, but model-specific safety information always takes priority.
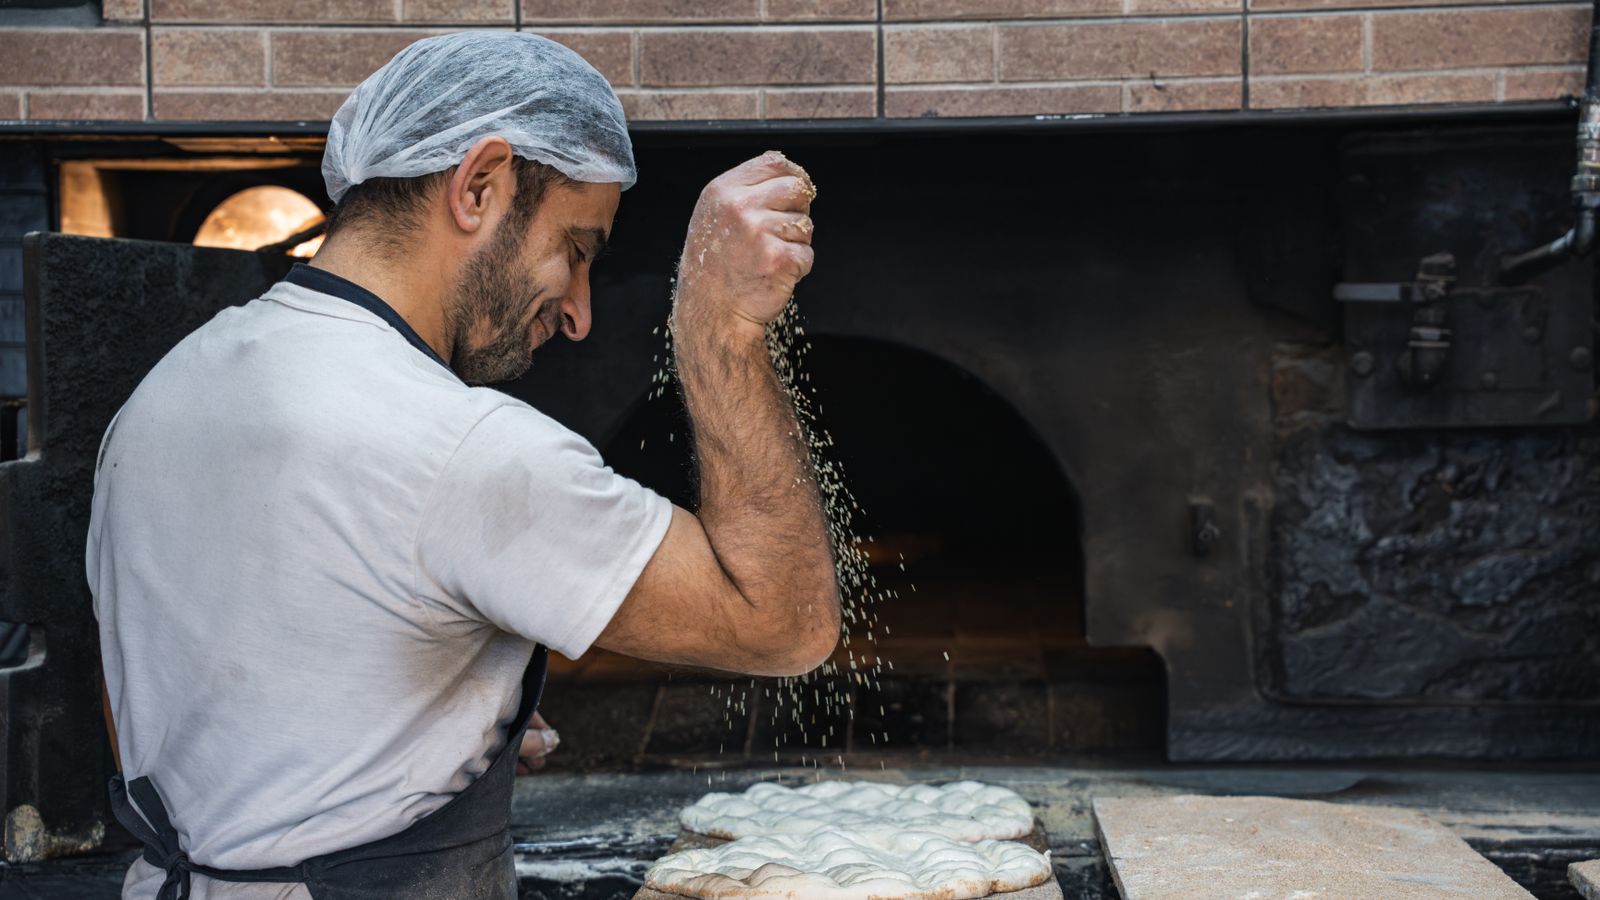
Read the dough from first mix through fermentation, shaping, and bake.
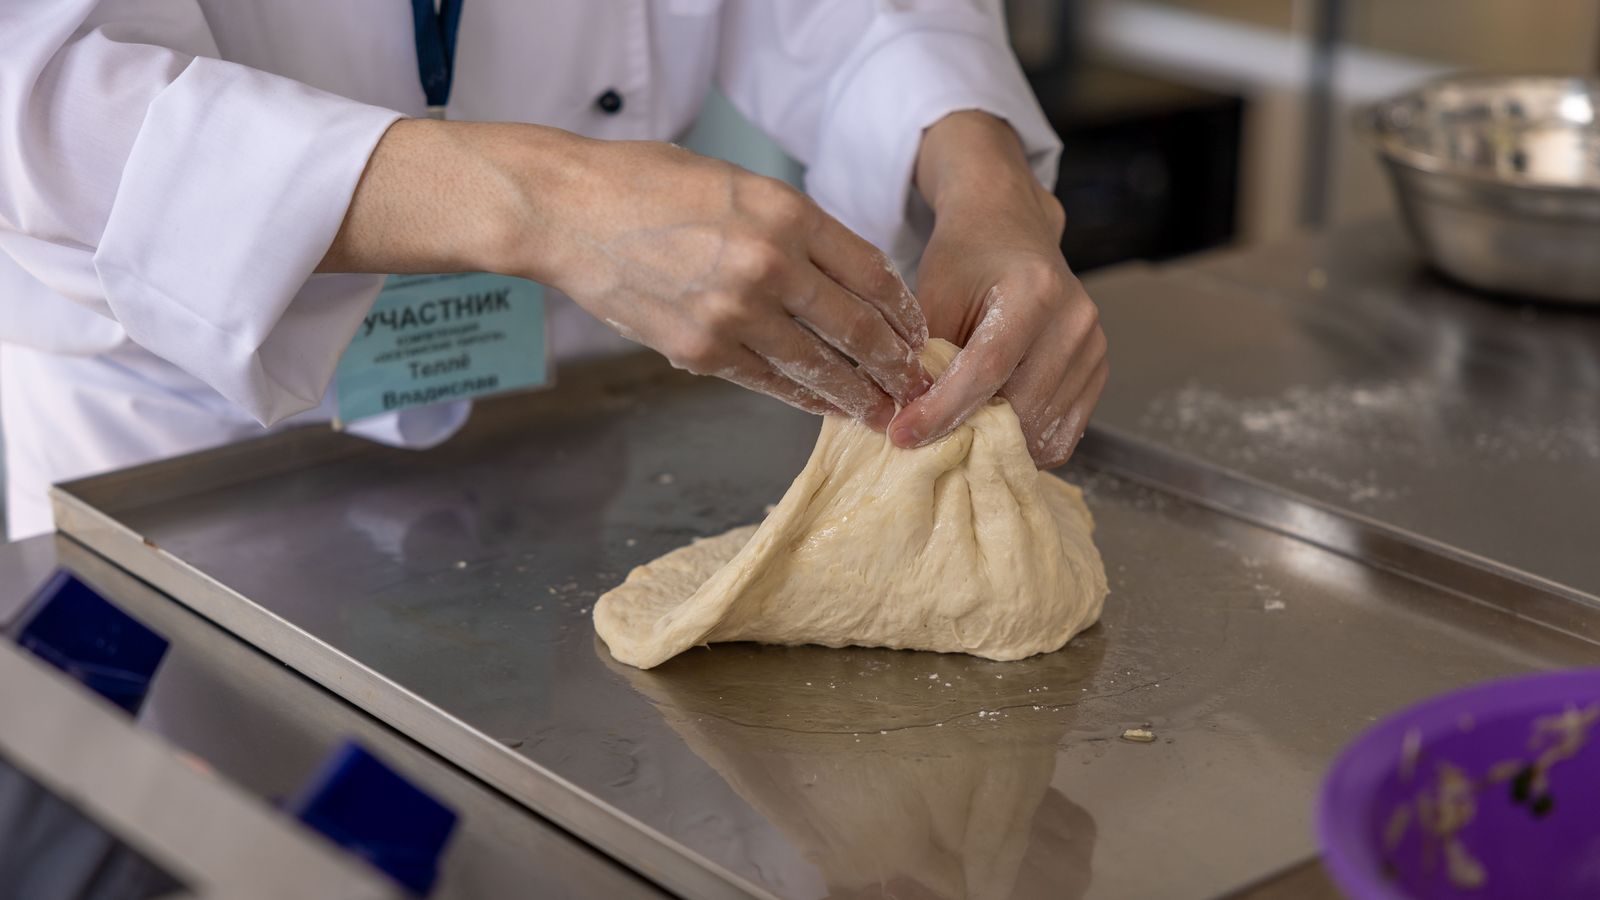
A crisp, airy dough with a simple stretch-and-fold fermentation.
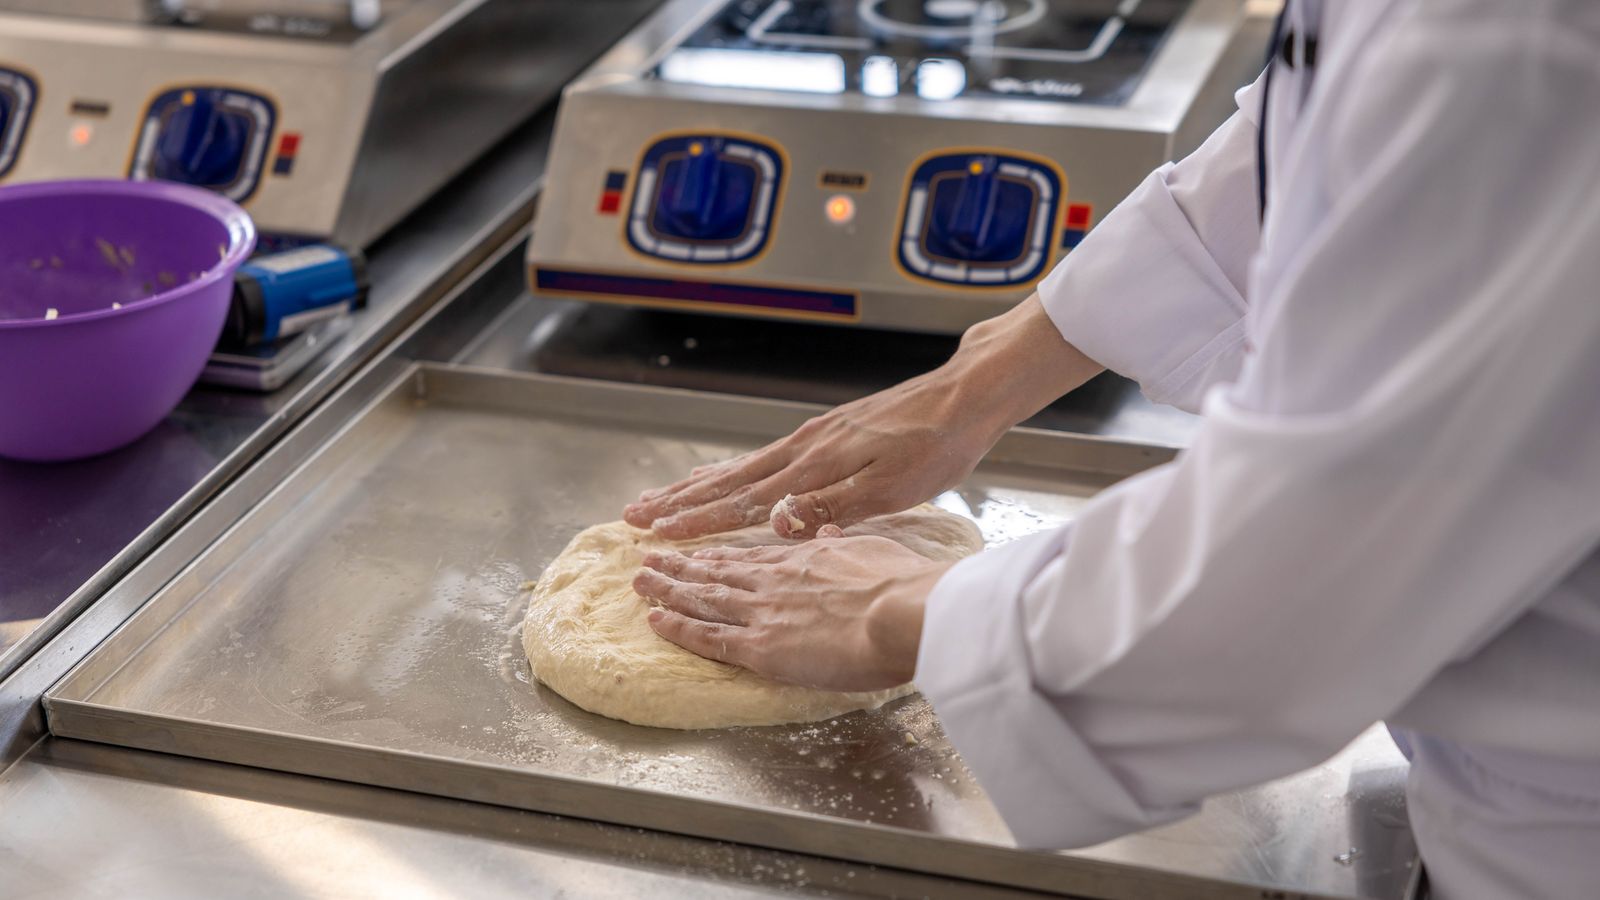
Rinse, ratio, simmer, steam, and fluff without lifting the lid early.