Working on soft or sloped ground
The setup controls the result. Take another minute to make the workspace stable and predictable.
Preparing the next step…
repair guide · 8 steps
Safely lift the vehicle, remove the wheel, fit the spare, and torque it correctly.
The outcome
This guide is designed to be used while you work. Each photograph shows a distinct stage, safety notes appear before the risk, and your progress is saved on this device.
At every stage, compare alignment and position—not just the finished appearance.
Before you begin
The walkthrough
Open any image for detailed zoom. Mark steps complete as you go.
Stop on firm, level ground. Set the parking brake, switch on hazards, place the transmission in Park, and keep everyone away from traffic.
Never change a wheel where passing traffic can reach you. Call roadside assistance if a safe location is unavailable.
Place a wheel chock diagonally opposite the flat. This limits vehicle movement while one corner is raised.
A solid block can work in an emergency, but a purpose-made rubber chock grips better.
Remove the hubcap if fitted. With the tire still on the ground, turn each lug nut about a quarter turn counterclockwise using a cross pattern.
Do not remove the nuts yet—the vehicle’s weight prevents the wheel from spinning.
Locate the reinforced pinch weld or frame lift point shown in the owner’s manual. Center the jack saddle exactly beneath it.
Lifting on the floor pan, plastic trim, or suspension arms can damage the car and cause it to fall.
Lift until the flat tire clears the ground by roughly 3 cm. If working beyond a roadside wheel swap, add a rated jack stand at a manufacturer-approved support point.
Never put any part of your body beneath a vehicle supported only by a jack.
Finish removing the loosened nuts. Hold the tire at 3 and 9 o’clock, pull it straight toward you, and place it flat under the sill as an extra precaution.
Align the wheel holes with the studs, slide the spare fully home, and spin every nut on by hand with the tapered side facing inward.
If a nut will not turn easily by hand, back it off. It is probably cross-threaded.
Lower until the tire just touches the ground. Tighten in a star pattern to the owner’s-manual torque, then lower fully and recheck every nut.
Temporary spares usually have speed and distance limits. Check their sidewall and arrange a permanent repair.
Avoid the re-do
The setup controls the result. Take another minute to make the workspace stable and predictable.
More force or more material rarely solves poor alignment. Reset and use a controlled technique.
A deliberate final check catches small problems while they are still easy to correct.
Tutorial complete
Complete 8 more steps to finish this guide.
Before you go
Yes. This guide is paced for a beginner, but stop whenever a step differs from the photographs or your manufacturer’s instructions.
Use the final verification step and never ignore movement, leaks, excessive heat, unusual noise, or a fastener that will not seat normally.
Pause and find the exact manual or specification. The sequence can still help, but model-specific safety information always takes priority.
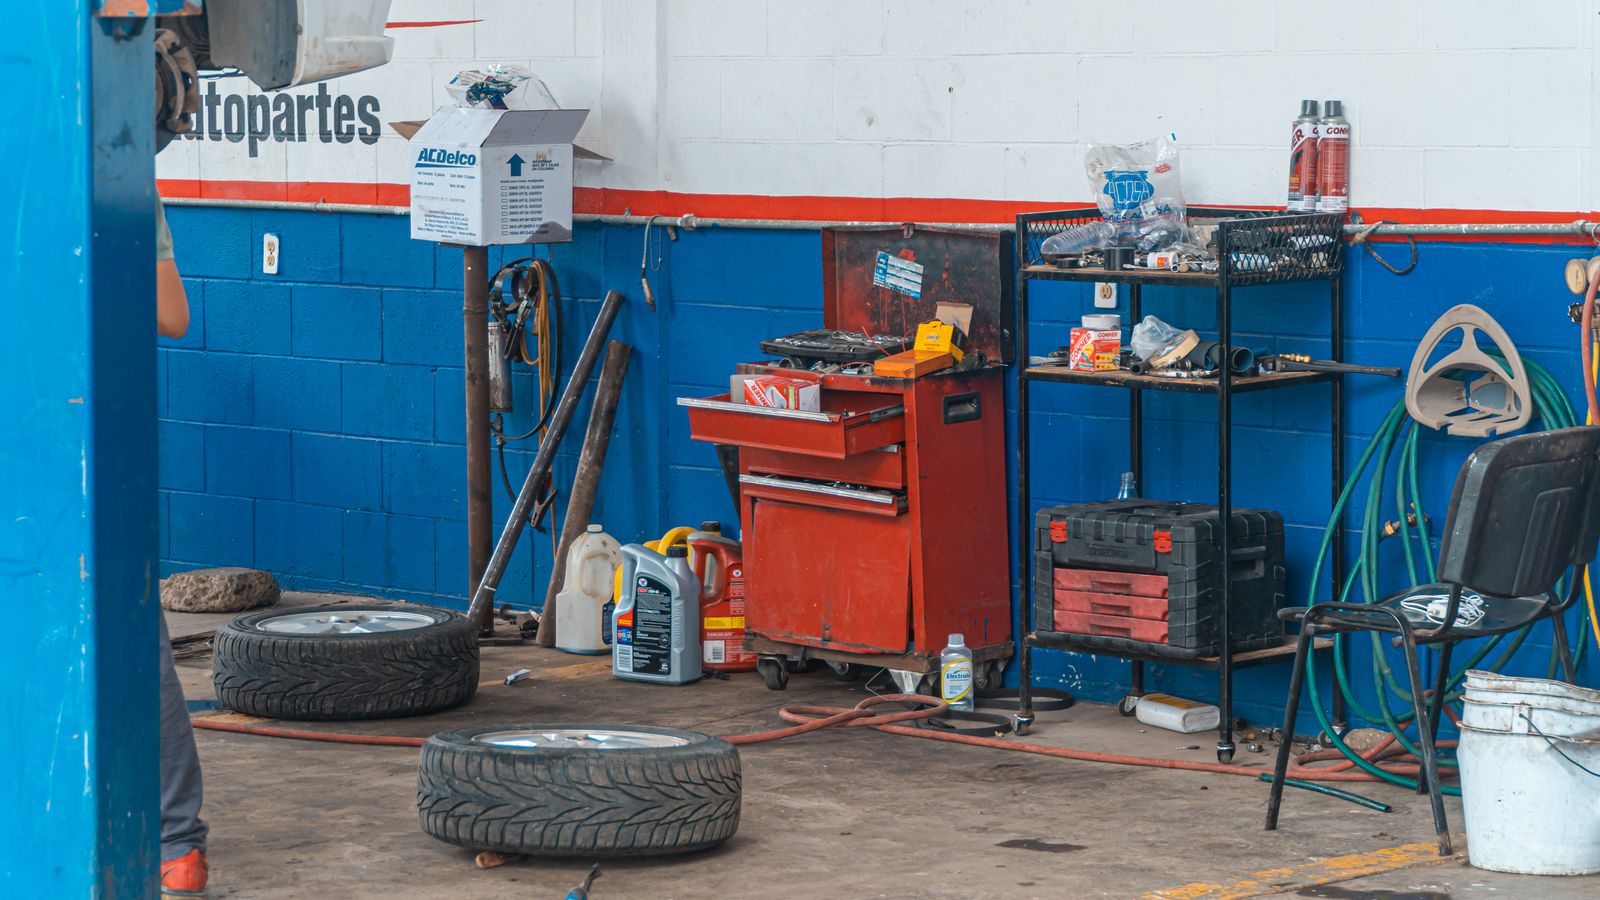
Connect jumper cables in the safe order and get a flat battery moving again.
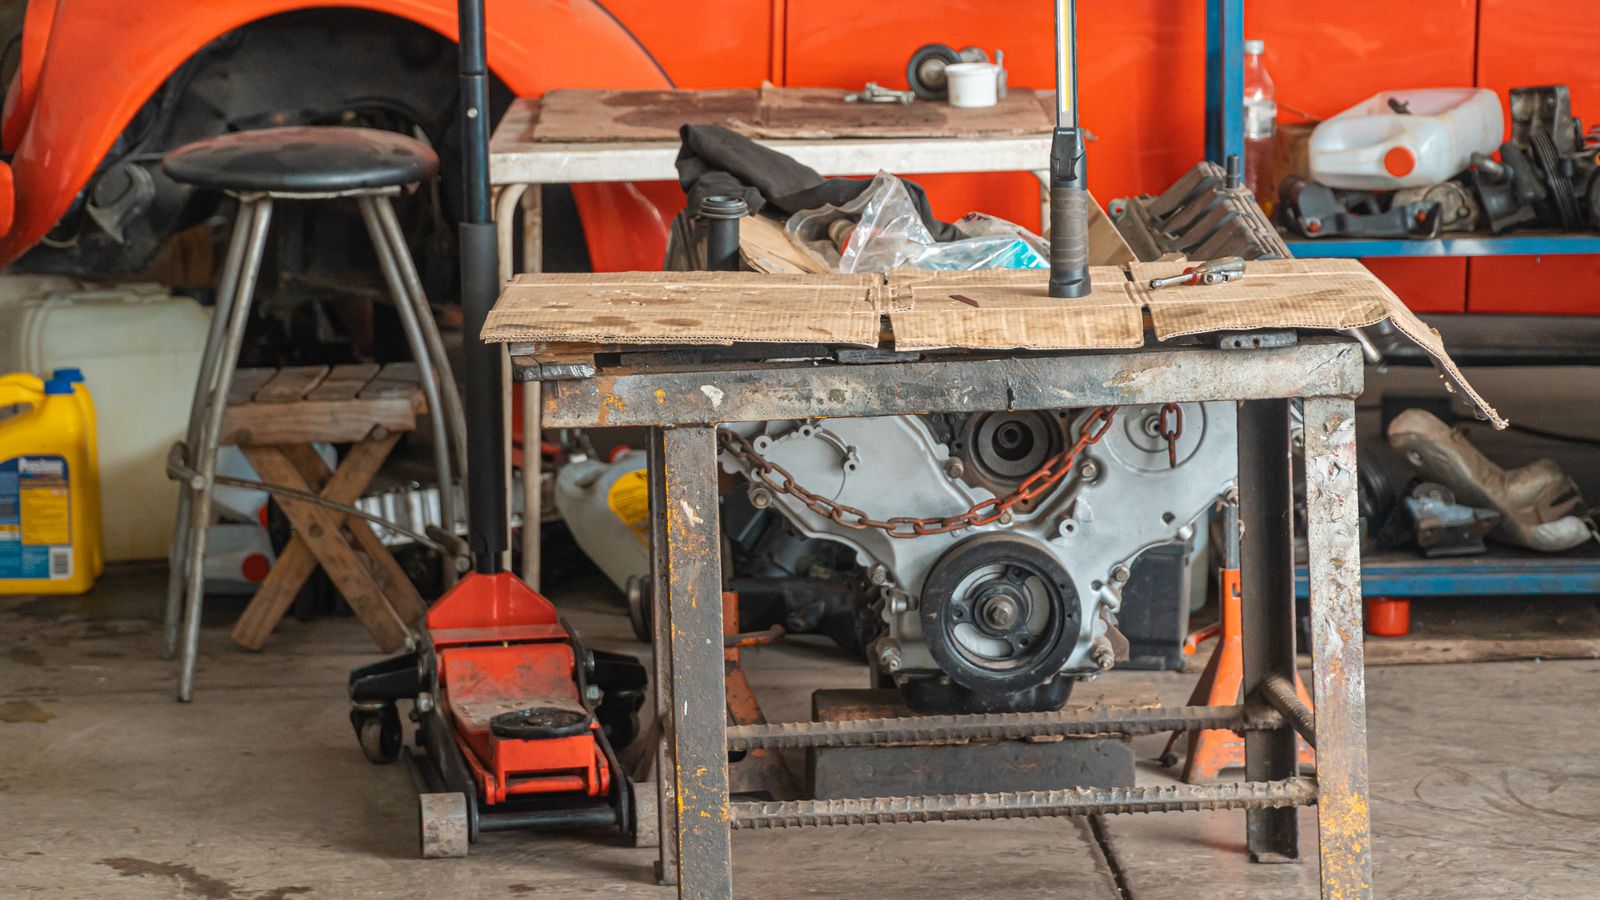
Drain, replace the filter, refill, and check for leaks like a careful technician.
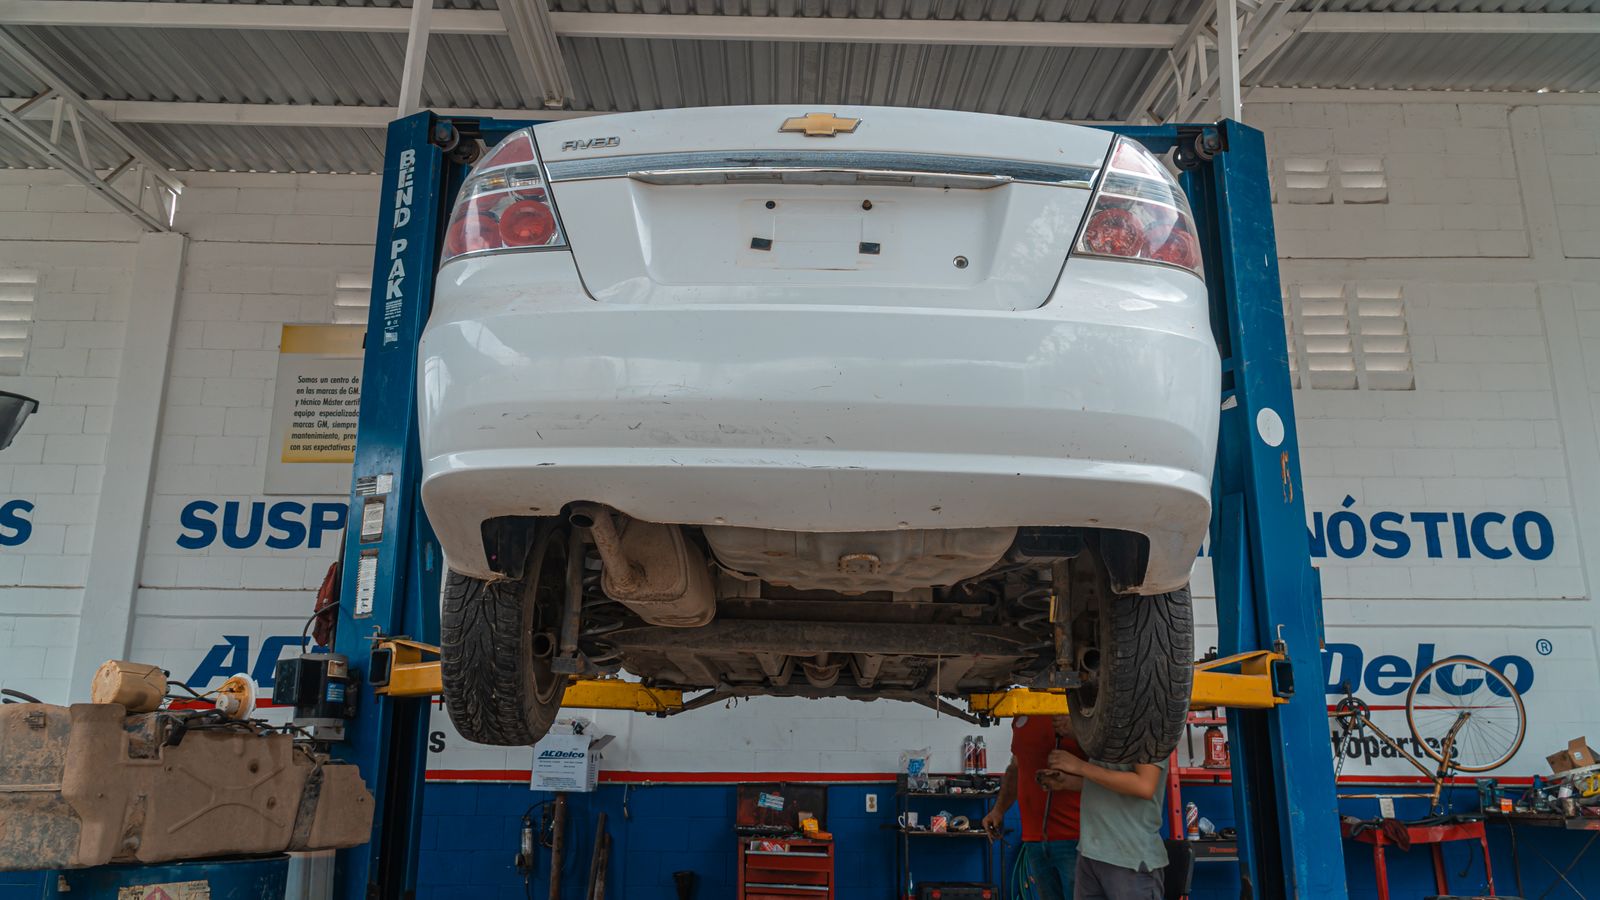
Identify terminals, preserve settings, and install a battery without dangerous shorts.